Your cart is empty
Your cart is currently empty. Let us assist you in finding the right product.


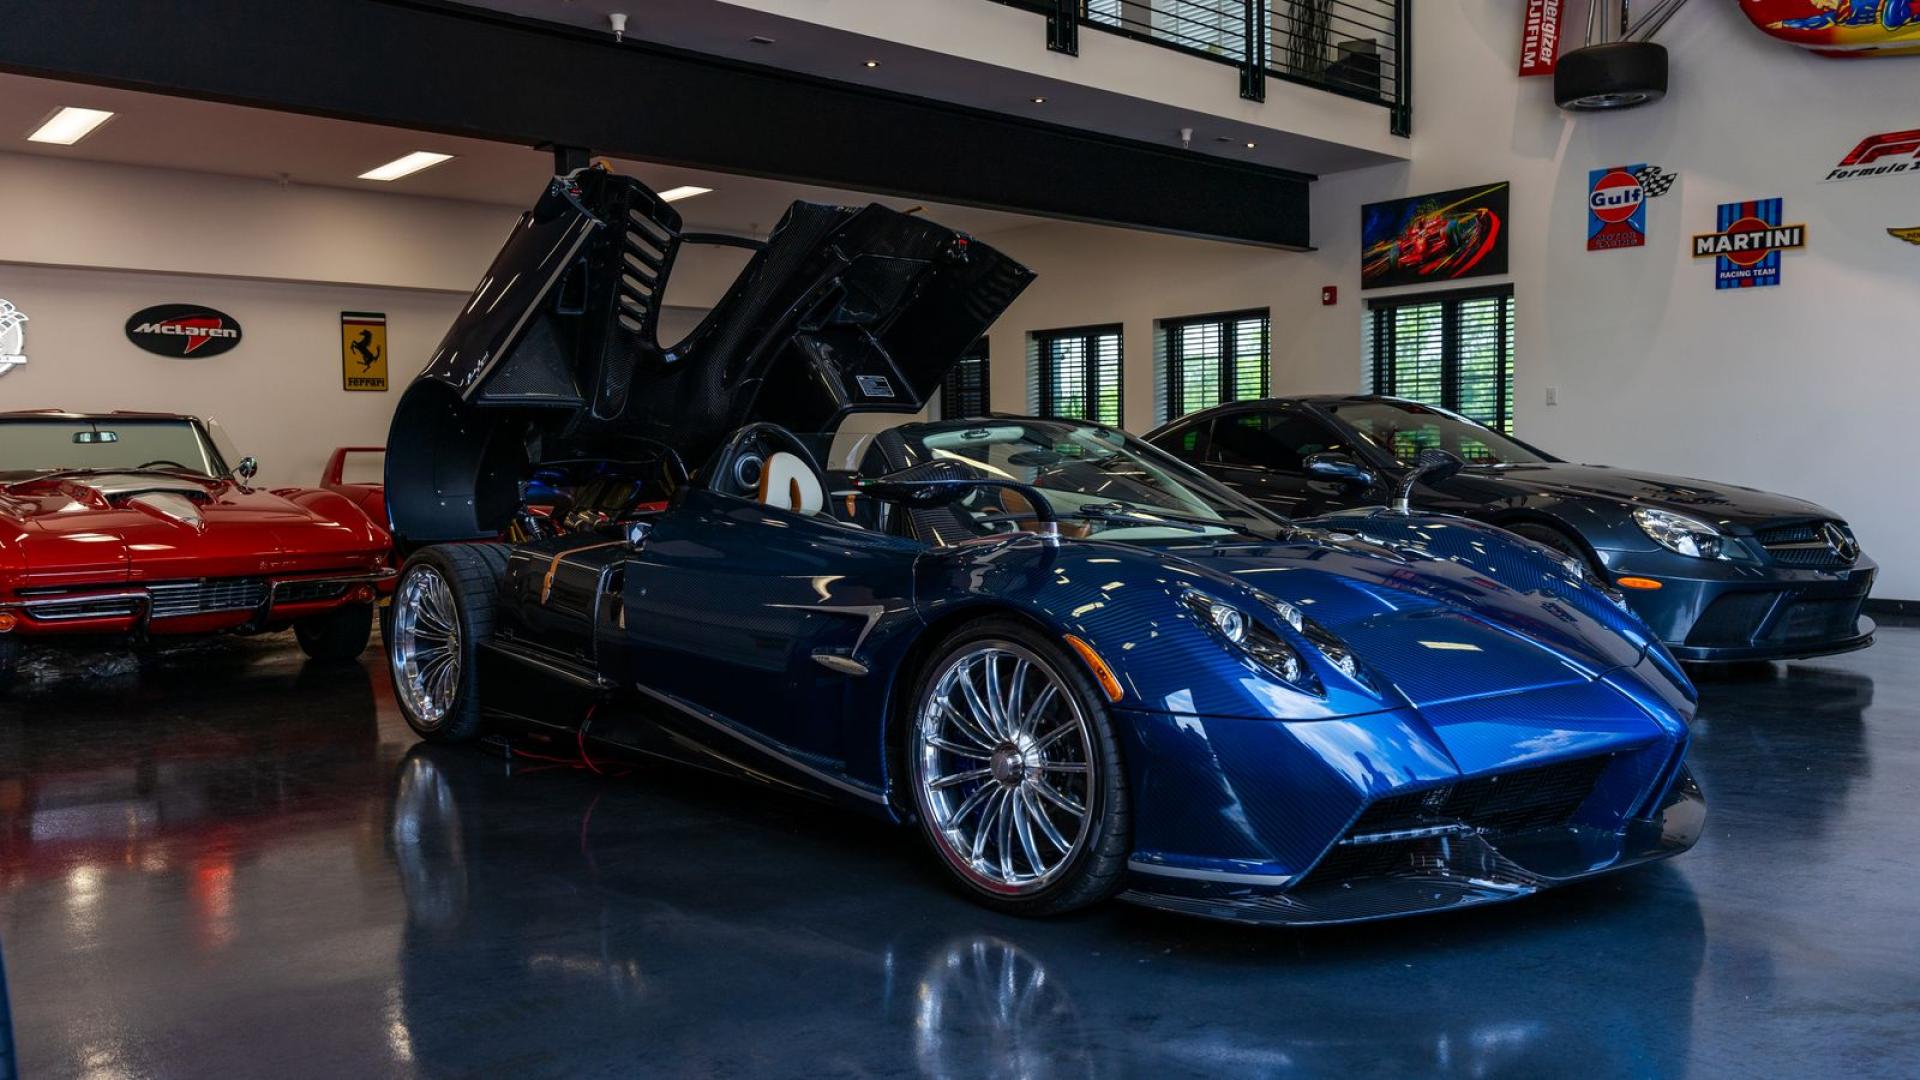
A luxury performance car rarely needs more visual drama, yet the right upgrades can make it feel more personal, more coherent and better suited to the roads on which it is actually driven. The difficult part is not finding a splitter, body kit or spring set; it is building an upgrade plan in which every component supports the same goal. This guide explains how to evaluate carbon fibre parts, aerodynamic packages, suspension changes and finishing details without turning a carefully designed vehicle into a collection of unrelated accessories. It also connects you directly to the specialist luxury car accessories and performance parts available from LUX.
Quick answer: begin with the exact make, model, generation, body style and equipment specification of the car. Decide whether the objective is subtle OEM-plus styling, a complete show-car transformation or a road-focused performance stance. Choose one visual system, confirm fitment in writing, budget for professional installation and alignment, and only then order parts. Owners comparing factory and specialist components should also read the OEM versus aftermarket luxury accessories guide before committing to a major package.
Premium vehicles are designed as complete objects. Their shut lines, cooling paths, wheel offsets, suspension geometry and active driver-assistance sensors have already been integrated by the manufacturer. An upgrade can improve the visual balance of the car, but a poorly planned combination can create inconsistent finishes, awkward panel gaps or unnecessary compromises in daily use. A low front splitter, for example, changes how the car approaches ramps. Wider arches may require revised wheel offsets. Lower springs change both stance and available suspension travel. Treating those choices separately is the most common route to an expensive result that looks less resolved than the standard car.
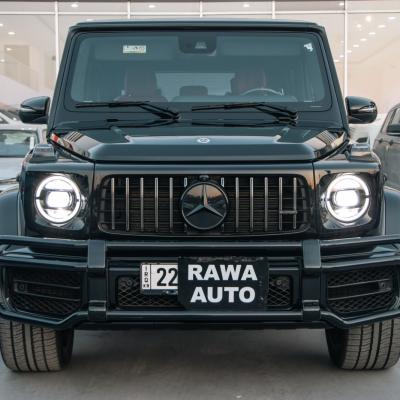
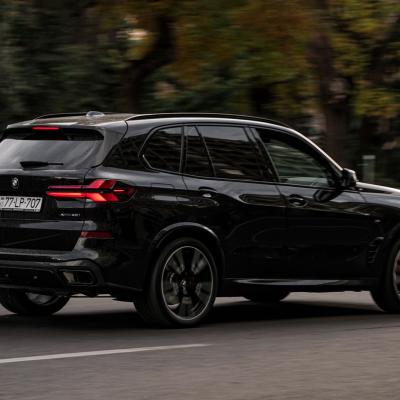
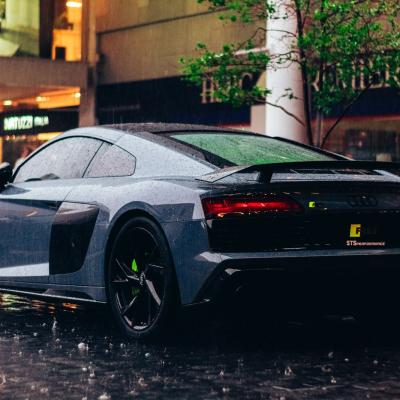
A better sequence starts with purpose. A weekend Ferrari may justify a more assertive carbon package, while a Mercedes-Benz used for long motorway journeys may benefit from restrained exterior details and reversible changes. An Audi R8 owner might prioritise a balanced front, rear and side aero set. A BMW X5 owner may care more about durability, parking clearance and a cohesive widebody stance. Defining the use case allows the installer and supplier to challenge unsuitable ideas before parts are painted, drilled or bonded.
Never order from a model name alone. Record the model year, generation code, body style, market specification, facelift status and factory options. Performance derivatives frequently use different bumpers, undertrays, exhaust positions, parking sensors or camera modules. A component described for a Porsche 992 does not automatically fit every 992 variant. A part for a BMW X5 F15 may not suit the F85 X5 M without variant-specific hardware. Ferrari 488, Pista and F8 components can look related in photographs while using different mounting points and surrounding panels.
Photograph the car from the front, rear, both sides and underneath the relevant mounting area. Include the VIN when a supplier asks for it, but transmit it only through a trusted sales channel. Compare mounting tabs and included hardware, not just the outer shape. The practical checklist in How to Choose Luxury Car Accessories for the Perfect Fit is useful before contacting a supplier because it helps organise the information needed for a reliable fitment answer.
Most successful builds fit one of three directions. OEM-plus uses restrained carbon, gloss-black or colour-matched details that could plausibly have been factory options. Road-performance styling adds a more visible splitter, diffuser, spoiler and lowered stance while preserving everyday usability. A full transformation uses a complete aero or widebody system, often with new wheel specifications and more complex paint and installation work. None is universally better. The right choice is the one that suits the vehicle, ownership plan and willingness to maintain it.
Choose the finish at the planning stage. Exposed carbon can look inconsistent when weave direction, tint and gloss level vary between suppliers. Gloss black is easier to coordinate but shows fine marks. Body-colour components can integrate a dramatic shape into the original design, although paint preparation and colour matching become critical. When comparing carbon options, the existing guide to carbon fibre accessories for Ferrari, Lamborghini and Porsche provides a useful introduction to the most common exterior components.
A front splitter visually lowers the nose and can help organise airflow, but its real aerodynamic effect depends on geometry, vehicle speed and the rest of the underbody. A rear diffuser is not automatically functional simply because it has fins; it must work with the airflow arriving beneath the car. Spoilers and wings influence the visual centre of gravity and may affect aerodynamic balance. Side skirts connect the front and rear themes and can reduce the apparent height of a car, though they also become vulnerable at kerbs and narrow ramps.
For a cohesive result, select components that were designed as a family. This is especially important when moving beyond small trim pieces. Owners can explore brand-specific routes through the Ferrari carbon fibre and suspension guide, Lamborghini aero and body kit guide, Porsche 911 and Taycan aero guide, Audi R8, RS6 and RSQ8 carbon guide, BMW X5 carbon aero guide and Mercedes-Benz exterior styling guide. Each article links to relevant live categories and product examples.
Carbon fibre should be assessed as a finished automotive component, not as a pattern. Ask how the part is manufactured, what core or backing structure is used, how the mounting points are reinforced and what surface protection is applied. Inspect close photographs of edges, corners, apertures and mounting tabs. Consistent weave alignment matters visually, but accurate geometry and stable mounting are more important. A beautiful surface cannot compensate for a component that sits under tension or requires excessive force to align.
Finish quality also determines maintenance. A well-protected gloss surface can be washed and cared for much like painted bodywork, while poor clear coat may haze or discolour. Matte carbon needs products that do not add unwanted shine. Regardless of finish, avoid aggressive polishing at exposed edges and do not direct a pressure washer into joints or lifting film. When a part arrives, inspect it before booking paint or installation and report shipping damage immediately.
Lowering can visually complete an aero package, but stance is only one part of the decision. Spring rate, damper compatibility, available bump travel, alignment range and road conditions all matter. Vehicles with adaptive or magnetorheological dampers require parts designed for that equipment. The target should be controlled, predictable behaviour rather than the lowest possible ride height. On UK roads, a small reduction that preserves suspension travel and front-splitter clearance is often more satisfying than an extreme setup.
Wheel width, offset and tyre profile must be considered alongside widebody components. Moving the wheel outward changes clearance to the arch, liner and suspension. A car may appear clear at static ride height yet rub during steering lock or compression. Before ordering wheels for a full conversion, confirm the kit manufacturer's recommended dimensions, brake clearance and alignment targets. After any suspension change, arrange a professional alignment and recheck fasteners after the installer’s recommended settling period.
The retail price of a part is only one line in the project budget. Add shipping, duties where applicable, inspection, trial fitting, paint preparation, carbon finishing, adhesives, replacement clips, calibration, alignment and potential correction work. Full kits may require many hours of body-shop labour. A realistic budget also keeps a contingency for fasteners or brackets that should be replaced rather than reused. If the project depends on the cheapest possible installation, it is usually better to reduce the number of components and protect the quality of the final work.
Choose an installer who is comfortable with premium bodywork and the specific material involved. Ask to see completed projects, discuss how factory paint will be protected and confirm who is responsible for resolving a fitment question. Components should normally be trial fitted before paint, clear coat or permanent bonding. Parking sensors, radar modules and cameras must return to their correct position and may require calibration. Keep photographs of the original car, the installation process and all removed parts.
This sequence prevents the most expensive kind of mistake: discovering after delivery that a visually attractive part conflicts with the car’s specification, intended wheels or daily route. It also creates clear responsibility between owner, supplier and installer. If a product page does not answer a critical fitment question, pause and ask. Premium upgrades reward patience far more than impulse buying.
A well-documented upgrade is easier to maintain, insure and eventually sell. Create a digital folder containing the original product listing, order confirmation, fitment correspondence, photographs of the parts as delivered, dry-fit images, paint references, installation invoices, alignment results and any calibration record. Photograph labels and part numbers before they are hidden behind trim. Store the original components and fasteners in clean, labelled packaging rather than allowing them to disappear during the workshop process. This record gives a future technician a reliable starting point and shows a buyer that the vehicle was modified through a controlled process.
Before installation, tell the insurer exactly what will change and request written confirmation of cover. Ask whether the declared value should include the installed parts and specialist labour. If the vehicle remains under a manufacturer or third-party warranty, discuss changes near covered systems before work begins. Local construction, lighting, number-plate and road-use rules still apply to modified cars, so the owner and installer should verify anything that alters width, visibility, sharp edges or lighting. Responsible paperwork is not an administrative afterthought; it is part of a premium build.
No. Some components reduce weight or manage airflow, while others are primarily visual. The effect depends on construction, geometry, mounting and how the component works with the complete vehicle. Buy for verified fit, quality and design first, and treat performance claims cautiously unless they are supported by credible testing.
A complete kit is usually easier to make visually coherent, especially when the front, sides and rear use related shapes. Individual parts suit an OEM-plus project or a staged build, but finish, weave and proportions must be coordinated carefully. Decide the final design before buying the first component.
They can reduce clearance and suspension travel, but a correctly specified, modest drop can remain road friendly. Compatibility with the dampers, alignment range, wheel setup and local roads is essential. Use a specialist installer and avoid selecting ride height from photographs alone.
Small trim pieces may be suitable for an experienced owner, but large aero components should be trial fitted and installed professionally. Incorrect drilling, bonding or sensor placement can damage expensive bodywork. Full kits, structural mounting and any component close to safety systems require specialist attention.
Use pH-neutral washing products, dry the surface carefully and protect it with a coating or sealant compatible with its clear coat. Avoid harsh compounds on edges. Inspect low-mounted parts regularly for chips, lifting lacquer and loose fasteners, particularly after a long journey.
They may. Tell the insurer before fitting parts and ask the relevant dealer or warranty provider how a proposed modification will be treated. Keep invoices, product descriptions and installation records. Never assume that a reversible part is exempt from disclosure.
Start with the relevant brand category, then compare the model-specific guides linked above. Browse the complete LUX product catalogue only after recording the exact vehicle specification. A smaller number of correctly selected parts will produce a stronger result than a long list of uncertain accessories.
Buy $10.00 more to get free shipping
Your cart is currently empty. Let us assist you in finding the right product.