Your cart is empty
Your cart is currently empty. Let us assist you in finding the right product.


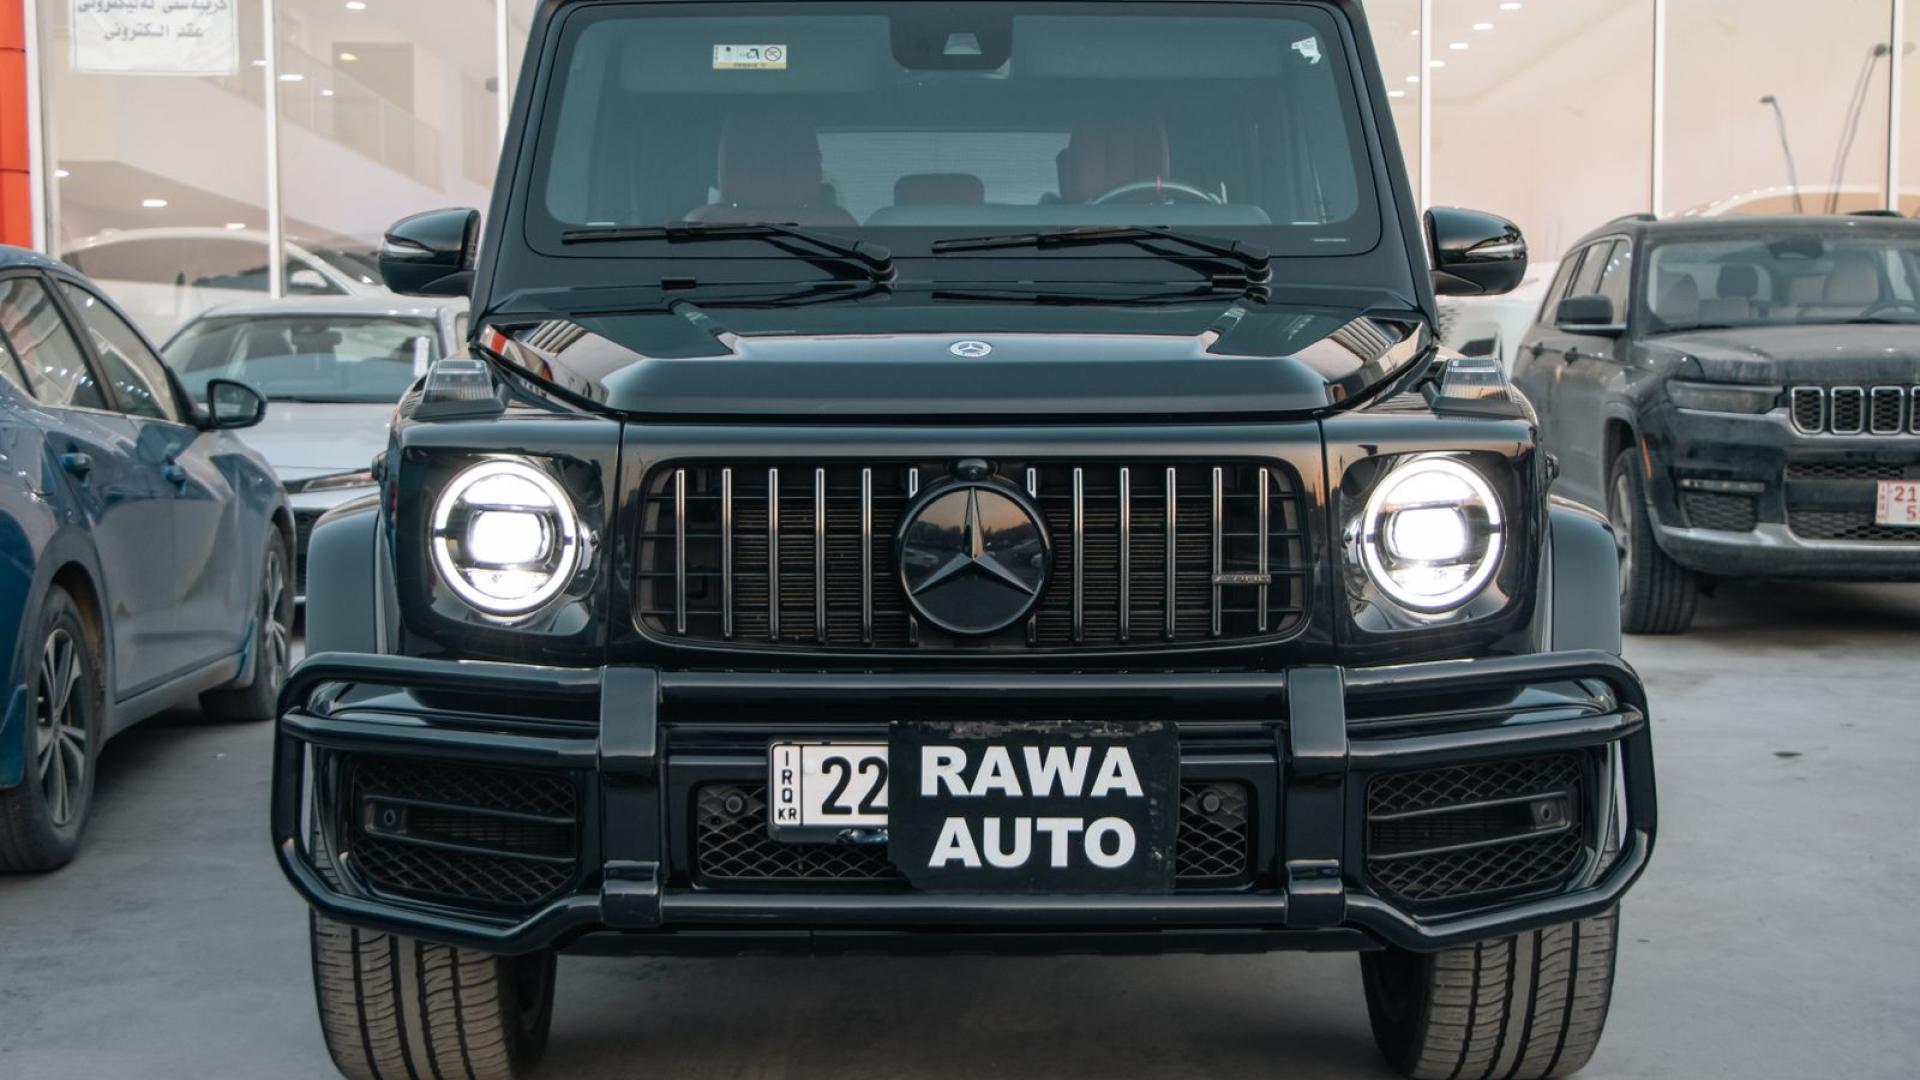
Mercedes-Benz owners do not lack choice. The challenge is deciding which exterior and chassis upgrades genuinely suit Mercedes-AMG, S-Class, G-Class, GLE and GLS models, which parts belong together and which changes will remain satisfying after the first photographs have been taken. This guide provides a complete planning method for carbon fibre, aero packages, body kits, suspension and finishing details. It uses current examples from the Mercedes-Benz exterior accessories and emblems and connects them to the wider LUX knowledge cluster so that research can move naturally from inspiration to fitment and purchasing.
Quick answer: identify the exact model, derivative, year and factory equipment; choose either OEM-plus, road-performance or full-conversion styling; confirm every component against photographs and mounting details; plan wheels, ride height and bodywork together; and use a specialist installer. Start with the complete luxury performance car upgrade guide if you have not yet decided whether carbon, aero or suspension should come first.
A Mercedes exterior can move in several directions: restrained factory luxury, blacked-out AMG styling or a more assertive G-Class tuner identity. The result is strongest when one finish is repeated deliberately. A gloss-black grille, red-accented AMG lettering and dark lower trim can form a coherent system; mixing chrome, matte black, carbon and multiple accent colours often creates visual noise. On an S-Class, restraint usually protects elegance. On a G-Class, stronger carbon and body-kit elements can suit the upright architecture.
The aim is coherence rather than maximum visual impact. Look at the car from front three-quarter, side and rear three-quarter angles and identify the line that already carries most of the visual energy. New components should reinforce that line. A front splitter that sits much lower than the side skirts makes the car look nose-heavy. A large rear spoiler without a corresponding front treatment can make the build feel unbalanced. Consistent materials matter as much as shape: exposed carbon from several manufacturers may vary in weave scale, tint and gloss, while a unified gloss-black or body-colour finish can make mixed components appear related.
Mercedes-Benz uses a wide range of platform and body codes, and small visual similarities do not guarantee fitment. W223 S-Class, W463 or W464 G-Class, C167 GLE Coupé and X167 GLS components differ in curvature, mounting and factory equipment. Badge and emblem listings can be especially confusing because letter combinations look similar at a distance. Confirm the exact part number, dimensions, finish and mounting method, then compare them with the original component before removal.
Create a short fitment record before contacting a supplier. Include the registration year, generation or chassis code, exact derivative, body style, right- or left-hand-drive market where relevant, and a list of factory options around the installation area. Add clear photographs of the front bumper, rear bumper, side-sill ends, wheel arches and any cameras or radar modules. If the listing uses a broad model range, ask the seller to confirm the car explicitly in writing. The perfect-fit checklist for luxury car accessories explains how to compare dimensions, mounting points and included hardware without relying on a product title alone.
An OEM-plus project should look credible from every angle and remain easy to live with. It normally uses a small number of reversible details, conservative ground clearance and a finish that echoes factory trim. A road-performance build can add a coordinated splitter, side treatment, diffuser or spoiler, together with a measured stance change. A full conversion changes the width or major body surfaces and should be managed as a body-shop project, not an online accessories order. Decide which level you want before buying the first part, because an OEM-plus splitter can become redundant when a complete bumper or widebody kit is selected later.
Owners who are unsure whether to favour factory parts or specialist components should review OEM vs aftermarket luxury car accessories. The answer is rarely all one or all the other. Factory fasteners, brackets and badges can be combined with a model-specific aftermarket aero package, provided the interfaces are understood and the installation is documented.
Small details deserve the same fitment discipline as large panels. The Mercedes-Benz Hood Bonnet Star Stand Up Emblem changes a focal point at the front of compatible cars, while the Mercedes-Benz Gloss Black Red AMG Letters Rear Trunk Badge and Mercedes-Benz Gloss Black Red Letter Emblem Trunk Nameplate alter the rear identity. They should not be used to misrepresent a model specification. For larger G-Class carbon or aero projects, coordinate lower components, spare-wheel treatment, wheels and ride height as one design and confirm sensor clearance.
Front components need particular care because they occupy the part of the car most exposed to ramps, kerbs and road debris. Confirm the lowest point after installation and compare it with the owner’s driveway and usual parking locations. Side skirts should preserve door clearance and provide secure mounting along their full length. At the rear, check exhaust position, heat exposure, tow points, reversing cameras and access for routine servicing. A diffuser or spoiler should not be chosen only because its photograph looks dramatic; it must also make sense with the bumper, undertray and other aero already fitted.
A high-quality component begins with geometry. Ask for close photographs of the mounting surfaces, returns, apertures and reinforced tabs, not only the glossy face. Visible weave should be consistent and deliberately aligned, but structural stability and accurate edges are more important. Find out whether the part is full carbon, carbon over a composite backing, or a carbon-look finish, because those descriptions represent different products. None is automatically unsuitable; the material simply needs to match the price, weight, location and expectation.
Surface protection is equally important. Exterior carbon requires a stable clear coat or finish that can tolerate ultraviolet exposure, temperature change and regular washing. Inspect the product immediately after delivery under diffuse daylight. Look for transport damage, pinholes, cloudy lacquer, edge separation and distortion. Do not paint, drill or permanently bond a questionable component before the supplier has reviewed it. The broader carbon fibre accessories guide explains the roles of splitters, diffusers, spoilers and trim in more detail.
Mercedes models may use steel springs, adaptive dampers or complex air-suspension systems. Cosmetic lowering links or electronic adjustments can have wider consequences for alignment, headlamp levelling and ride quality. A G-Class also has unusual axle and body-clearance considerations. Treat any stance change as a chassis decision, not merely an exterior accessory, and use a specialist familiar with the exact platform.
Treat ride height, wheel width, offset and tyre profile as one geometry problem. Wider arches often require a new wheel position, but pushing wheels outward without calculating suspension and steering clearance creates rubbing and poor road behaviour. Ask the kit manufacturer for its intended wheel specification and have the installer check brake clearance, inner suspension clearance and arch travel. A static photograph cannot show what happens at full steering lock or when the suspension compresses over a crest. Complete a professional alignment after changes and retain the final settings with the vehicle records.
The product price is only the beginning. Include insured delivery, import charges where applicable, inspection, trial fitting, paint preparation, clear coating, adhesives, clips, brackets, alignment and calibration. A complete conversion may also need wheel and tyre work, paint blending and transport to a specialist body shop. Set aside a contingency for damaged fasteners or corrections discovered during the dry fit. It is better to reduce the number of parts than to compromise on preparation and installation.
Request an installation quotation before placing the order. Give the workshop links to the exact components, photographs of the car and the proposed finish. Ask whether it will trial fit before paint, how it will protect the original panels and how parking sensors, radar modules or cameras will be handled. Clarify who communicates with the supplier if a fitment issue appears. This preparation turns an uncertain hand-off into a managed project.
Begin with the intended identity. For a luxury saloon, select one or two genuine-looking details and preserve the factory balance. For an AMG model, match black and red accents carefully and retain model honesty. For a G-Class project, establish whether the target is OEM-plus, road-performance or a complete tuner conversion before buying carbon pieces. Browse the Mercedes-Benz category at LUX and verify every model code and part number before ordering.
Two useful live product references are the Mercedes-Benz Hood Bonnet Star Stand Up Emblem and Mercedes-Benz Gloss Black Red AMG Letters Rear Trunk Badge. They illustrate different levels of commitment and should be assessed against the car’s exact specification. Larger projects can also compare the Mercedes-Benz Gloss Black Red Letter Emblem Trunk Nameplate with the Mercedes-Benz Hood Bonnet Star Stand Up Emblem. Product availability, included hardware and compatibility can change, so treat the current product page and written supplier confirmation as the final source before purchase.
Avoid solving a poor fit by forcing a panel into position. Carbon and composite parts can hold stress that later appears as cracks, lifting edges or failed adhesive. A small gap may point to an incorrect bracket, shipping distortion or a mismatch between variants. Stop, document the issue and contact the supplier. The most expensive cars deserve a reversible diagnostic process rather than improvisation with permanent fixings.
Tell the insurer about material modifications before installation and ask how declared value, theft cover and replacement parts will be handled. Contact the dealer or warranty provider when a change is close to a covered system. Keep the invoice, product description, correspondence, installation photographs, alignment report and any calibration record. Store original components safely and label their hardware. Good documentation reassures a future buyer that the car was modified thoughtfully rather than assembled without a plan.
Wash exposed carbon with a pH-neutral product, use soft tools and dry panel edges carefully. Avoid directing a pressure washer into seams. Inspect low components after long journeys for chips, loose fasteners or contact marks. Gloss-black and painted pieces should be cared for like the surrounding bodywork, with extra attention to edges and bonded joints. A small maintenance routine protects both appearance and safety.
Compare the different engineering and styling priorities in the BMW X5 F15 and F85 Carbon Aero and Widebody Upgrade Guide and Lamborghini Aero and Body Kit Guide: Huracán, Urus, Aventador and Revuelto. Return to the pillar guide to carbon fibre, aero and suspension for the complete purchasing framework. These links help owners compare approaches without assuming that a solution for one premium platform should transfer directly to another.
For cabin protection and daily usability alongside an exterior project, read Luxury Car Interior Accessories: Comfort, Style and Everyday Practicality. Exterior changes attract attention, but a complete ownership plan also considers storage, protection and reversible interior improvements.
Match the exact model year, derivative, body style, generation code and factory bumper or aero specification. Compare mounting photographs and included hardware, then obtain written confirmation from the supplier. Do not rely on a broad title or a photograph of a similar vehicle.
A full kit normally gives a more coherent design and finish, but it costs more to ship, prepare and install. Separate pieces suit a staged or OEM-plus project. Decide the final direction first so early purchases do not become incompatible with a later conversion.
Yes, if the design is secure and the available clearance suits the owner’s routes. Measure ramps and parking entries, use professional mounting and inspect the underside regularly. A sacrificial protection strip may help in some installations, but it should not hide a poorly positioned component.
Some may influence airflow, but appearance alone does not prove a measurable performance benefit. The result depends on geometry, speed, mounting and the rest of the vehicle. Unless credible testing is available, buy on the basis of fit, construction and design rather than assuming a specific aerodynamic gain.
Plan both together. The final splitter depth, wheel position and arch shape determine useful ride height. Physical bodywork trial fitting often comes first, followed by final wheel and suspension setup, alignment and clearance testing. The sequence should be agreed with the installer before ordering.
They can. Inform the insurer before fitting parts and ask the dealer or warranty provider about relevant systems. Keep written responses and complete documentation. Reversible parts still need to be disclosed when the policy requires it.
Use the Mercedes-Benz exterior accessories and emblems and filter by the exact model. If fitment or included hardware is unclear, contact LUX before purchase. Current product information should take priority over an older article or third-party photograph.

Discover more stories and style tips to keep your inspiration flowing.
22 August
Use this fitment checklist to choose compatible luxury car accessories and avoid costly ordering or installation mistakes.
Buy $10.00 more to get free shipping
Your cart is currently empty. Let us assist you in finding the right product.